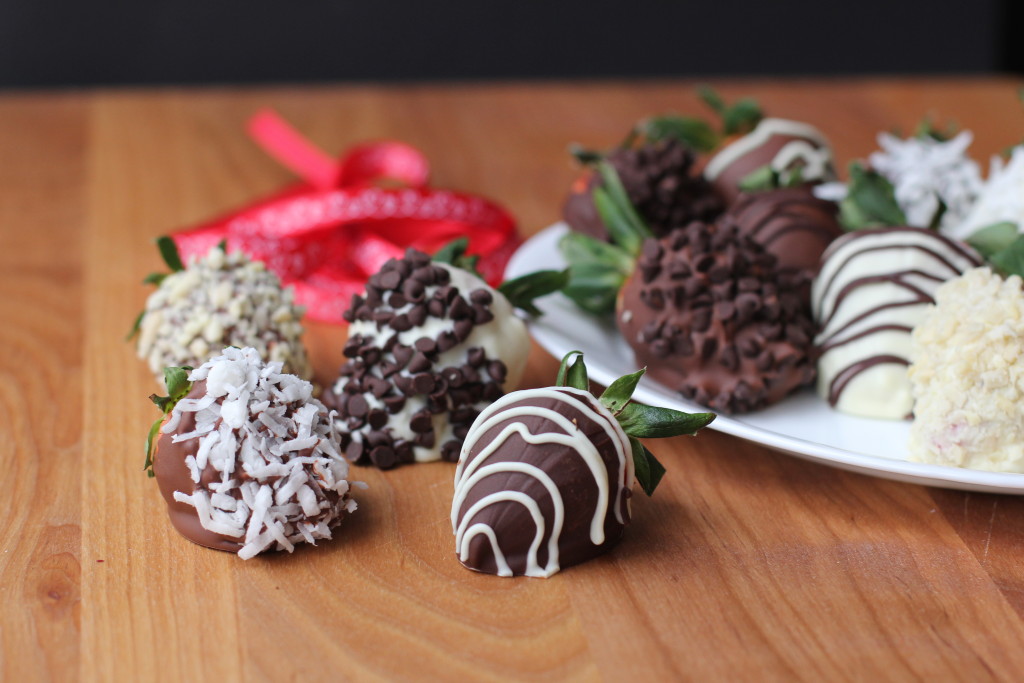
If you’ve ever done any kind of shopping for Valentine’s day, then surely you’ve come across how much chocolate covered strawberries cost.
Seriously though, like $5 a berry? It’s kind of ridic.
I’m in the wrong business.
Making chocolate covered strawberries at home is SO EASY. There is really no need to buy them as long as you can set aside a little time and do them yourself. AND they aren’t expensive. It certainly won’t cost you $5 a pop.
I have had so much fun with these over the years – you can get so creative with them. One time I even managed to score myself a little needle from a pharmacy to inject them with Grand Marnier. Those berries were the shiz. (That was when I lived in Spokane though and I haven’t had the nerve to ask a Philly pharmacist if I can buy a single needle. Somehow I get the feeling I’ll get turned down.)
Personally, I’m a fan of milk chocolate covered strawberries. But I do use semi-sweet chocolate (you could also use dark chocolate) and white chocolate as well. My favorite toppings are ground almonds, shredded coconut, and mini chocolate chips. You could also use sprinkles of any kind, other little candies that you like, and drizzle them with anything you can melt – caramel, white chocolate, etc. I have seen the fancy strawberries with long stems around Valentine’s Day at Whole Foods, but that’s the only time I’ve seen them. I bet you could find them at a farmer’s market too.
This a great activity to do with your kids as well. My 5yo daughter helped me with these and she had a blast. Have fun!! Be sure to post your pics on Instagram and tag me @sluttyfoodblog so I can see how yours turned out!!
Ingredients
1-2 boxes of strawberries (depending on how many you want to make)
1 bag milk chocolate chips
1 bag semi-sweet chocolate or dark chocolate chips
1 bag white chocolate chips
1 small bag slivered almonds
1 small bag shredded coconut
1 bag mini chocolate chips
Directions
1. Get your chocolate melting: You will need three saucepans and three glass or ceramic (not metal!) bowls that fit inside them without touching the bottom. Put a little bit of water in the bottom of the saucepan, and set the pan over the lowest heat possible on the stove. Set the bowl on the saucepan, and pour one bag of chips into each bowl. Stir periodically to hasten the melting process. Keep an eye on the white chocolate in particular – it can be fussy. Don’t let it go too long without stirring. Keep all the chocolate moving so that it doesn’t have time to get too hot in one place. Alternatively, you could melt the chips in the microwave in microwave-safe bowls. Melt for 10-15 seconds at a time (yes seriously) until melted. Remember, cooking something in the microwave for 10 seconds 5 times, is different than cooking something in the microwave for 50 seconds 1 time. Cook in short bursts of time, stopping to stir every time.
2. Rinse and dry your berries: Rinse your berries under cool water. Dry them REALLY WELL. I usually rinse them then lay them on a paper towel. Then I take another paper towel and individually dry off each berry. It is very important that your berries are not wet when dipping them in the chocolate, or the chocolate will seize up. Once dried, lay them on a dry paper towel until you are ready to dip them.
3. Prep your toppings: Pour the bag of slivered almonds into a food processor or a mini food processor and pulse a few times so that they are more like big almond crumbs instead of slivers. You could also run a knife through a pile of them a few times. Pour the almonds into a little bowl. Pour the shredded coconut into a little bowl. And pour the mini chocolate chips into a little bowl.
4. Prep your setup: Set out two cookie sheets and line each with a sheet of parchment paper. Take your bowls of melted chocolate off the stove and set them on the counter near the cookie sheets. Arrange your bowls of toppings in an easy-to-reach place. You will want to be able to dip your berry, dip it in a topping (if desired), and lay on the cookie sheet in very quick secession. You don’t want your stuff set up all over the kitchen.
5. Dip your berries: Now for the fun part! Take a berry and hold it by the leaves. Dip it into whichever chocolate you’d like, being sure to dunk it to get it chocolatized on all sides. Then lift it out of the chocolate and let some of the excess drip off. Quickly dip one side of the berry into whichever topping you prefer. Repeat with all berries with whatever flavor combinations you prefer. When finished, put the trays of strawberries in the refrigerator to help the chocolate set.
Notes
1. To make chocolate covered strawberries with different-colored-chocolate striped drizzles, skip dipping those berries into the toppings, and lay on the cookie sheet. When finished dipping all berries, take the leftover melted chocolate and pour it into a Ziploc bag, and snip a small bit off the corner. Squeeze the chocolate towards the snipped opening and drizzle over the dipped berries as desired.
2. You will probably not use entire bags of almonds, coconut, or mini chocolate chips. So if you have unopened bags lying around in your pantry, go ahead and use those, unless you think you’ll need more, obviously.

